Two-Factor Authentication Checklist for Your Most Important Accounts
A practical, account-by-account checklist for adding two-factor authentication, storing backup codes...

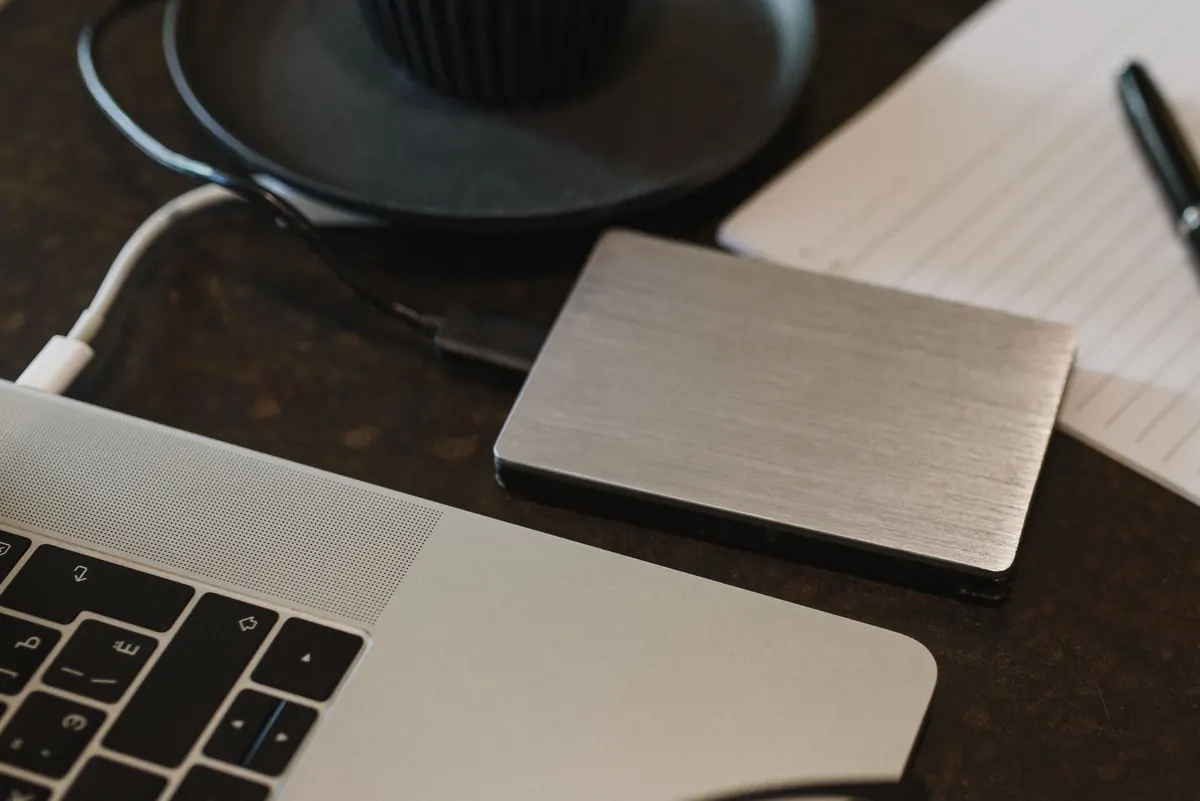
The worst moment to think about backups is the second you realise a folder has gone. A half-finished proposal, four years of family photos, the only copy of a spreadsheet that took a fortnight to build — all of it undone by a failed drive, a wrong keystroke or a file-locking message with a countdown on it.
An external drive is the least glamorous fix available, and it is the one that works. It takes an afternoon to set up, it needs no subscription, and it will still be doing its job in five years. What follows is how to pick the right drive, get a backup running automatically, and — the part most guides skip — actually get your files back when something goes wrong.
Cloud storage is not a backup. If you delete a file from a synced folder, that deletion is copied to every device attached to the account within seconds. Save over a document with a bad edit and the bad version propagates too. Syncing keeps devices in step; it does not keep history.
An external drive gives you the thing sync cannot: a copy that sits somewhere else and is only connected when you connect it. Restoring a few hundred gigabytes from a drive plugged into your laptop takes minutes. Doing the same over a home broadband connection can take days. The strongest setup is both — an external drive holding everything, plus a cloud account for the small set of documents you would hate to lose.
Add up the folders you actually care about, then double it. If your Documents, Pictures and project folders come to roughly 400 GB, buy a 1 TB drive; if they come to 900 GB, buy 2 TB. A drive that is permanently 95 per cent full is awkward to work with and leaves no room for the versions that accumulate over time. Ignore the appeal of a 6 TB bargain if your laptop only holds 250 GB of data — you are paying for space you will never use.
Hard disk drives are cheaper per terabyte and come in larger sizes, but they contain moving parts and do not enjoy being dropped. Solid-state drives are silent, much faster and far more tolerant of knocks, at a higher price per gigabyte. For a drive that lives on a desk and runs on a schedule, a hard drive is perfectly sensible. For one that travels in a rucksack, pay the extra for an SSD.
Portable drives are powered straight from the USB port and fit in a coat pocket. Desktop drives have their own power supply, usually spin faster and cost less per terabyte, but they stay put. Either way, check the connector: USB-C or USB 3.x. An old USB 2.0 enclosure will make the first backup feel like watching paint dry. Buy from a manufacturer you have heard of, keep the receipt, and note the warranty length — a drive that fails inside three years is usually covered.
Backups fail for one reason: nobody plugs the drive in. Set the software to run automatically — hourly for documents that change all day, weekly for photo and video archives — and leave the drive connected overnight. Windows Task Scheduler or the scheduler built into your backup tool will do this without you thinking about it.
If you can manage it, buy two drives and alternate them. Keep one at home and one somewhere else: a desk at work, a relative's house, a locked drawer in another building. That is the idea behind the long-standing 3-2-1 advice — three copies of your data, on two different types of media, with one kept away from the others. It sounds fussy until a burst pipe or a burglary turns out to be the problem.
One drive connected permanently to your computer is better than nothing, but it is also the first thing ransomware encrypts. Keep a second drive unplugged and out of the room.
Look in the Recycle Bin or Trash first — files usually sit there for a few weeks before vanishing. If it is empty, open your backup tool: File History offers a Restore personal files view, and Time Machine lets you browse backwards through dates. Find the folder as it was before the mistake and restore it.
Restore to a different location rather than straight over the top of the current folder. If the older version is not the one you want, you have lost nothing; if you overwrite first, you have lost the newer files too.
Unplug the external drive immediately, and if the computer is on a network, disconnect that as well. Do not reconnect the backup drive to the infected machine, and do not pay — payment buys no guarantee, and the decryption tools that eventually appear cost nothing.
The recovery route is a clean reinstall of the operating system, followed by restoring from a backup made before the infection date. That is only possible if you have versioned backups rather than a single mirror, and if at least one copy was disconnected while the attack happened. On a work machine, speak to whoever handles IT before plugging anything back in.
Put a reminder in your calendar and spend five minutes on it. Plug the drive in and confirm the last backup date is recent. Open one file at random from the backup, not from your main machine. Check the drive's health through its manufacturer's utility or a SMART monitoring tool, and listen for clicking or grinding when it spins up.
Store the drive somewhere dry and stable, away from radiators and off the floor. Label it with a date. Then forget about it — that is the whole point. A backup you set up once and never think about is worth more than a cleverer system you keep meaning to configure.
Photo: Arina Krasnikova / Pexels
A practical, account-by-account checklist for adding two-factor authentication, storing backup codes...
Free writing tools suit occasional jobs, but paid plans buy capacity, consistency, data safeguards and...
Cold weather slows the chemistry inside lithium-ion batteries, so your phone can die at 40 per cent. Here...